Solid-state lighting programs move faster when the photometric, electrical, and safety files attached to a part number tell one coherent story. This note lists the items our customers most often compare before they freeze mechanical tooling, pick driver variants, or sign a final bill of materials. It is not a substitute for the full standard text in your region, but it gives program managers a single page of questions to ask any supplier.
For context on how Light Engine runs measurement work inside its own campus, start with the Quality & Testing overview, then return here when you review vendor PDFs side by side.
Use the numbered list below as a working checklist. Tick each item only when the report version, test date, and sample code on the cover sheet all match the build you intend to ship.
- Electrical scope. Confirm line voltage, frequency, and control method (phase dim, 0 to 10 V, DALI, or fixed output) match the market label. Note inrush current and standby power if your utility or rebate desk asks for them.
- Thermal snapshot. Look for the reference temperature of key parts, especially the LED solder point or nearby copper. Ask whether the report used a still air box, a moving air fixture, or a specific mounting orientation.
- Photometric traceability. Verify total luminous flux, efficacy, and color data were taken with calibrated integrating spheres or goniophotometers, and that the report states the measurement distance and any baffle layout.
- Color consistency. Compare CCT, Duv, and color rendering indices against your brand guide. If the product is tunable, request plots for each end stop and for at least one mid blend.
- Flicker and temporal light modulation. Where local rules reference P strobe metrics or similar, check that the lab recorded the same dim level and sweep speed your field study expects.
- Photobiological group. For open emitters or retrofit kits, read the risk group, measurement distance, and any conditions such as bare LED versus finished diffuser.
- Life projection method. Read how the vendor linked in-situ temperature data to LM-80 style curves and to TM-21 or related projection rules. The hours on the chart should line up with the driver and housing you plan to sell.
- Change control block. Ask for a short table that lists BOM revisions, firmware hashes, and optical stack versions that the report covers. Future swaps to a different phosphor batch or lens grade should trigger a partial retest plan.
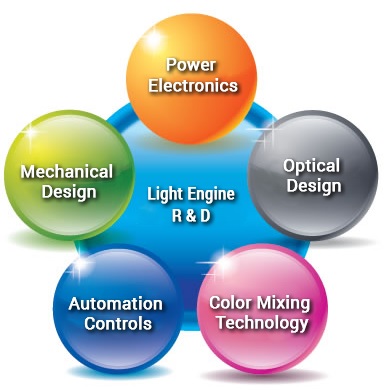
Strong paperwork shortens pilot builds because tooling, procurement, and field trials can run in parallel once the data pack is stable. If you need a partner that can align optical, mechanical, and power electronics updates with retest cycles, review Engineering & Product Development and the company background on About Light Engine.
When you are ready to compare facilities, the international home page links to our central lab story, factory tour, and product entry points in one layout. You can also jump straight from the home page to this checklist whenever you refresh supplier documentation before a build.